
Gamma Exposure (GEX): Why the Market Maker Moves Price for You
Walls that price bounces off; levels where it reverses; the flip after which falls turn sharp; the Max Pain the market is drawn to by expiry — all of these are consequences of one mechanism. It is called gamma exposure, or GEX. In essence it is a map of how the market maker is forced to hedge their options by buying and selling Bitcoin. Understanding GEX is like looking into why price moves the way it does — the market maker largely moves it "for you."
Who is on the other side of the trade
When you buy or sell an option, on the other side there is almost always a market maker. They do not care about direction — they earn on the spread (the difference between buy and sell). But by taking your trade they acquire directional risk and are forced to hedge it — buying or selling Bitcoin itself to stay neutral. It is exactly these forced buys and sells that move price.
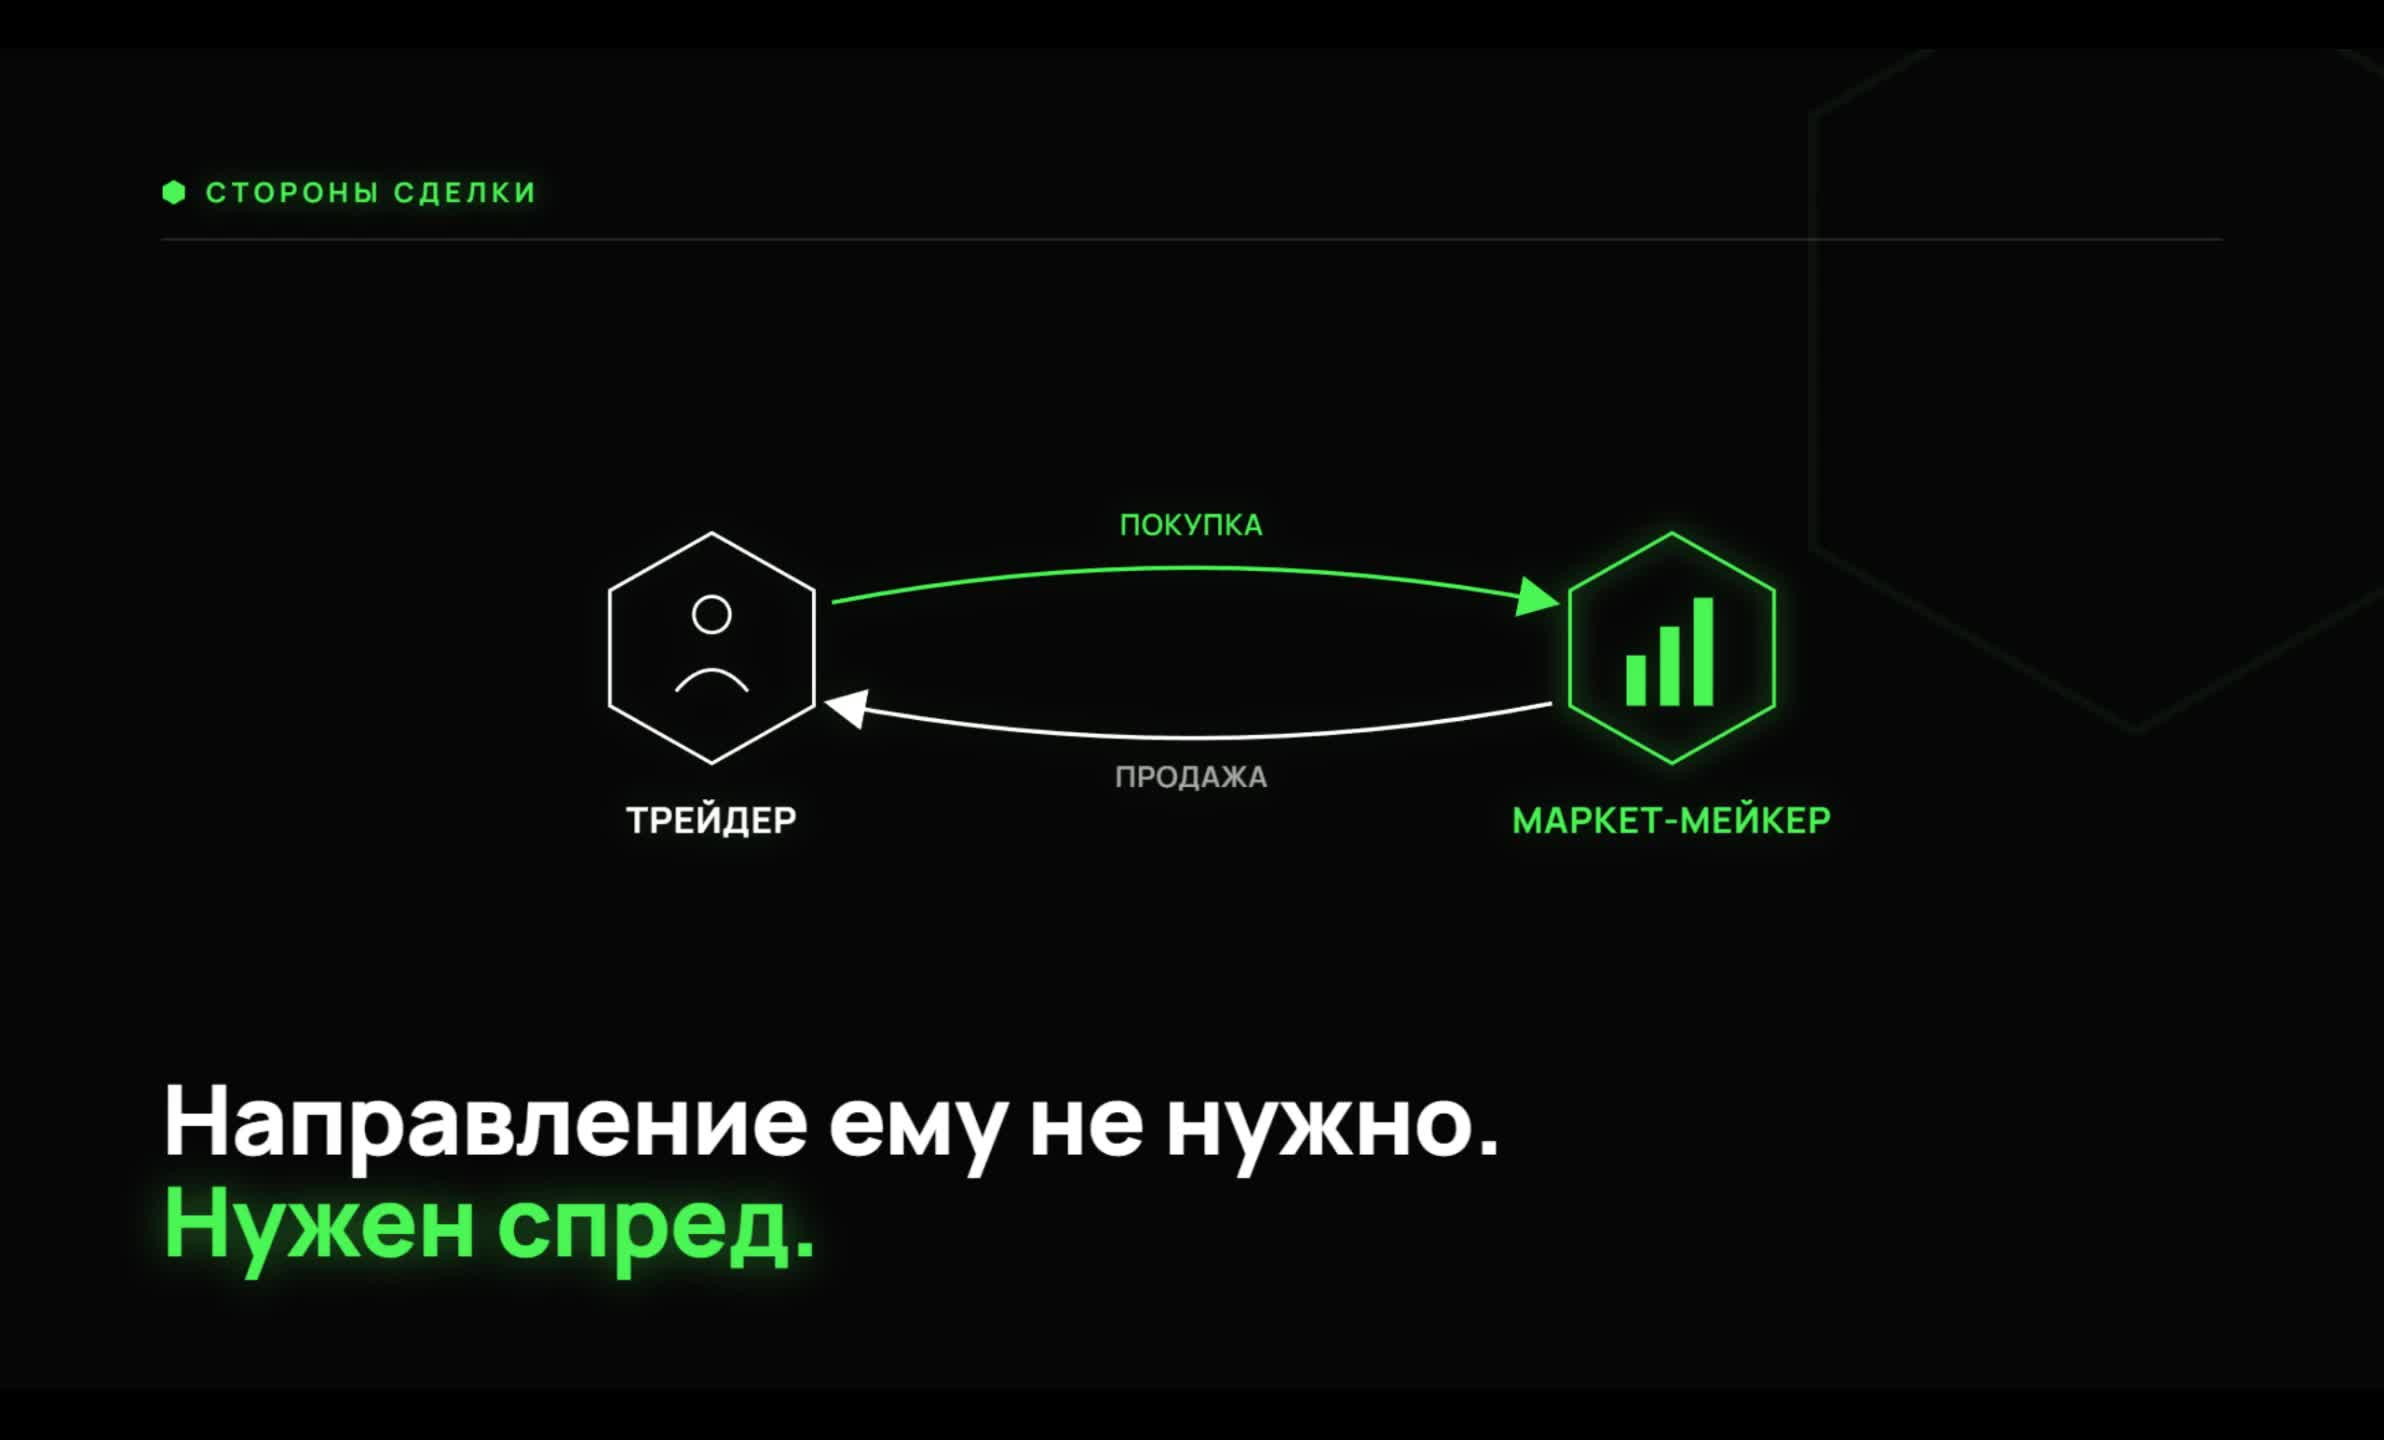
The market maker does not need direction — they need the spread. To stay neutral they must hedge, buying and selling Bitcoin.
Gamma: price → delta → new hedge
How much the market maker needs to hedge is shown by delta. And gamma is the speed at which that need changes: how fast delta "shifts" as price moves. The chain is simple: price moved → delta shifted → a new hedge is needed. The larger the gamma, the more often and more strongly the market maker has to buy or sell — and the more noticeable their influence on price.
Two regimes: smooths or amplifies
Positive gamma (+Γ) — smooths. Rise → the market maker sells, fall → they buy. They dampen moves, and the market drifts calmly, chopping in a narrow range.
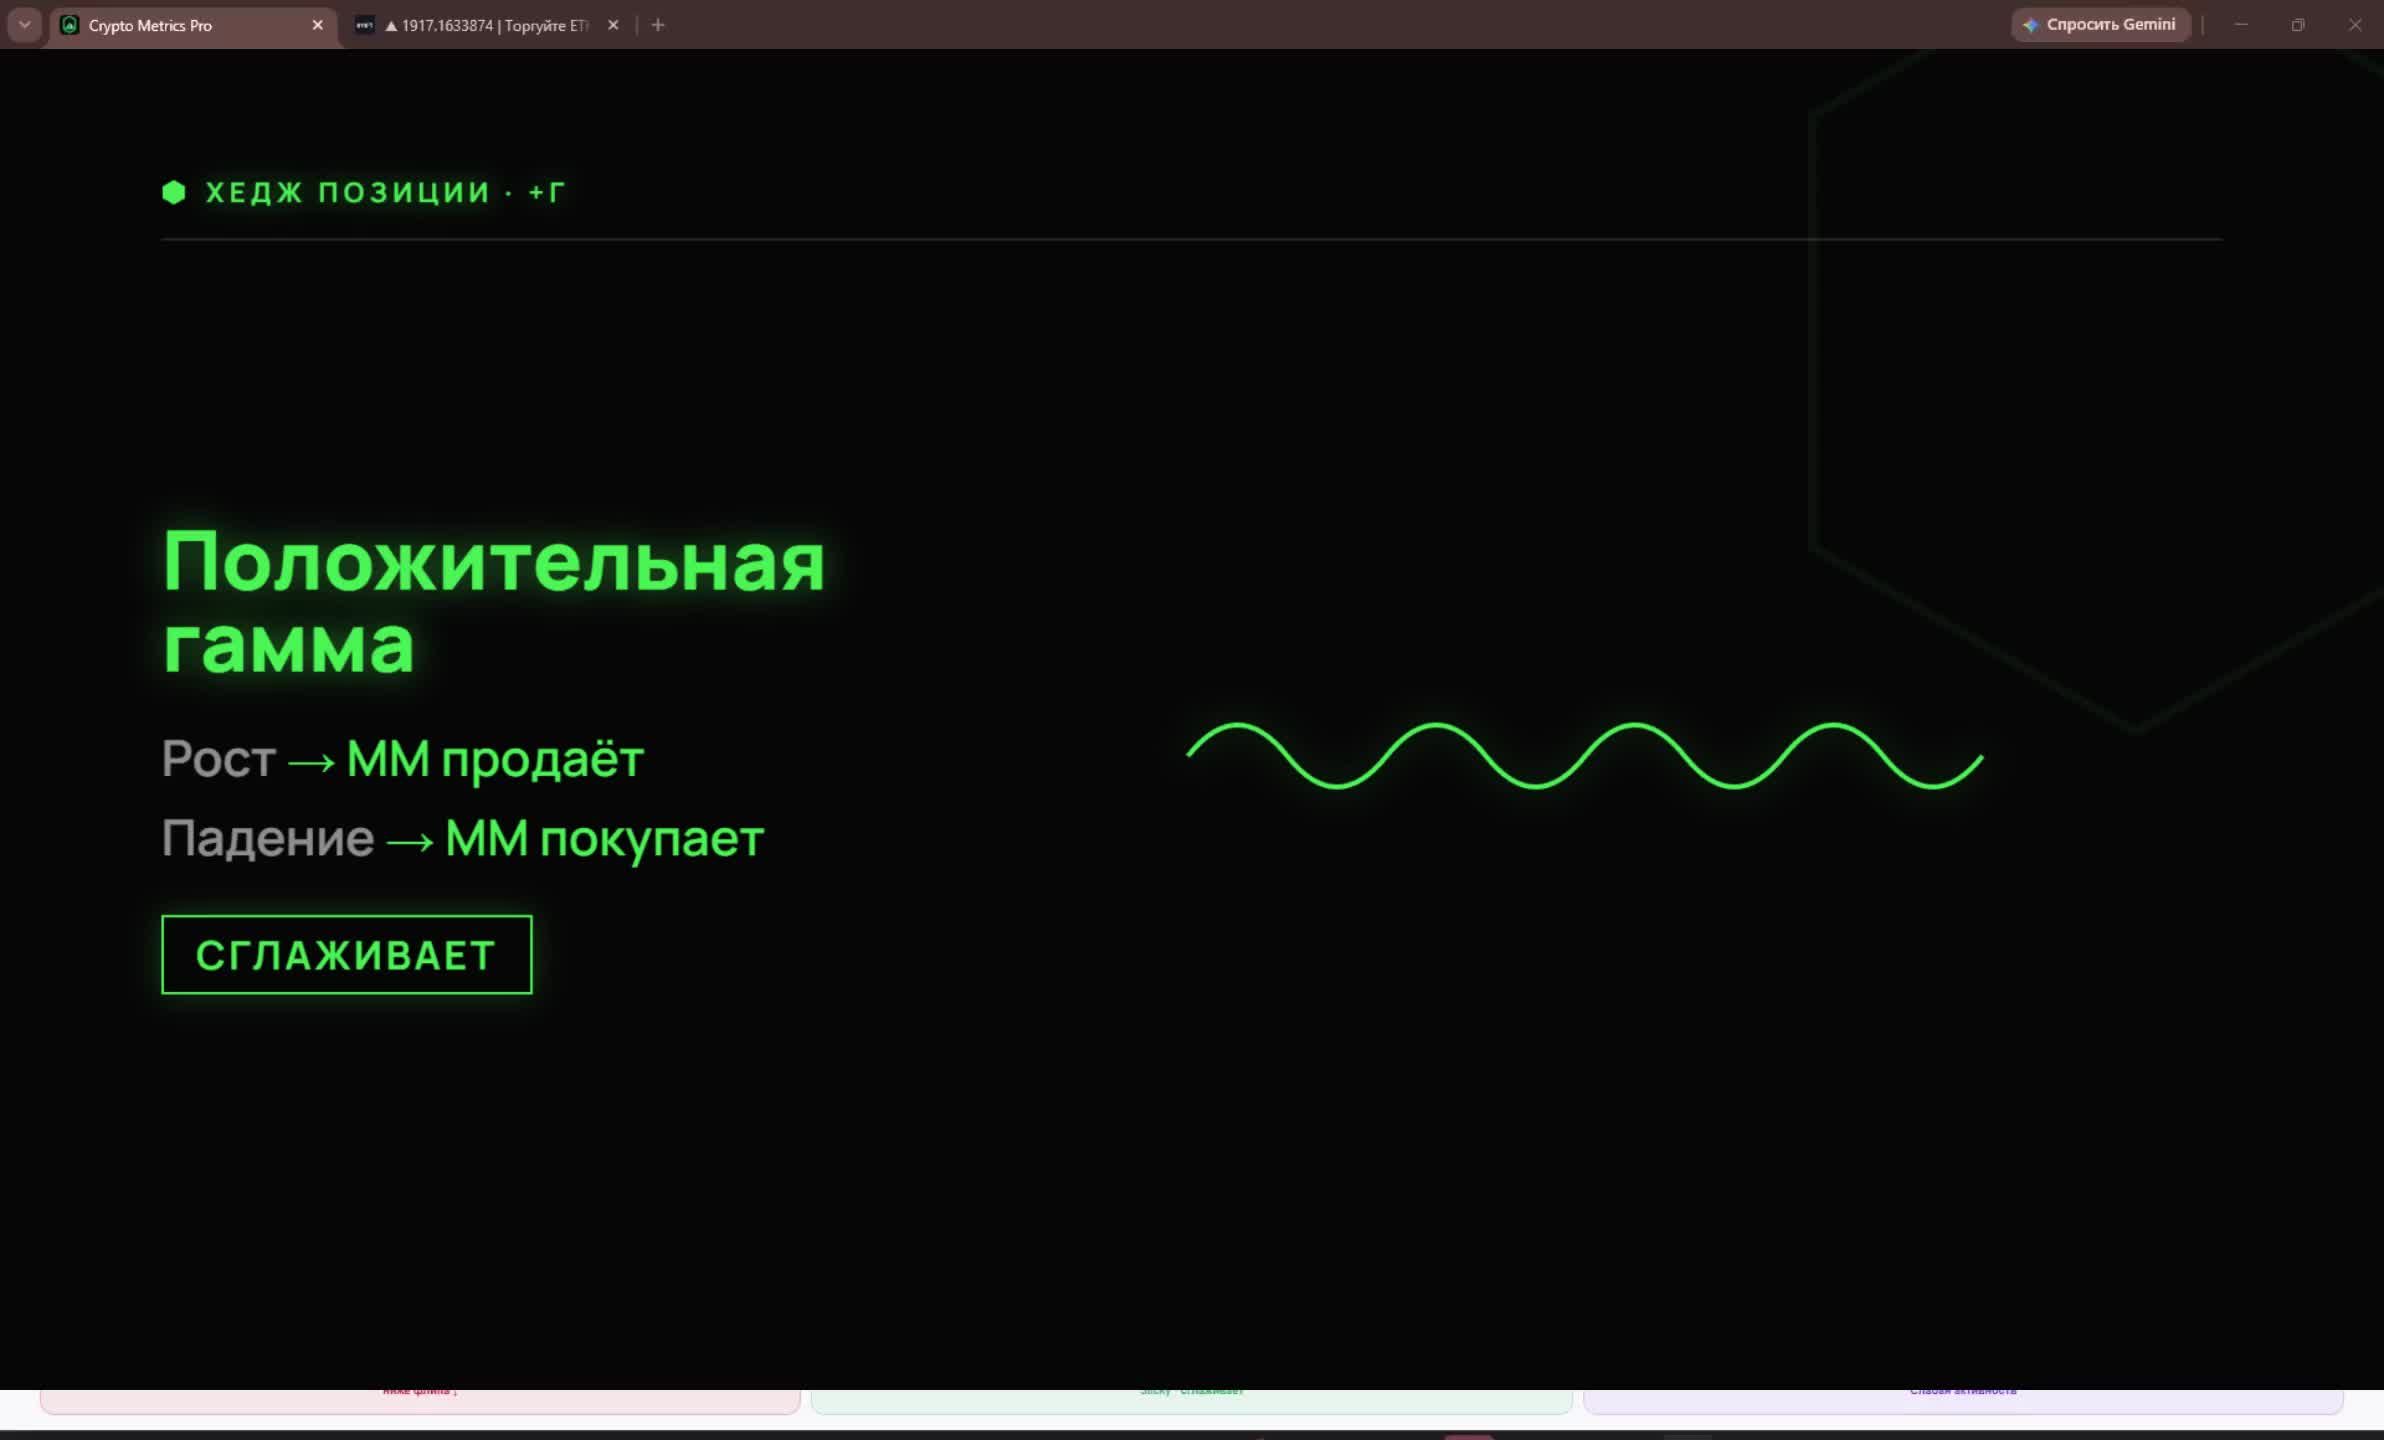
Positive gamma: rise → MM sells, fall → MM buys. Moves are smoothed.
Negative gamma (−Γ) — amplifies. Rise → the market maker buys, fall → they sell. They pour fuel on the move, so candles turn sharp and falls become especially fast. The level where the regime switches from one to the other is called the Flip Point.
The GEX map: walls, flip, Max Pain
All of this is collected on the GEX Terminal dashboard. The bars are walls (large gamma concentrations by strike): green above and red below spot. The dashed line is the spot price. The key references below and on the scale:
- Walls (P1/P2, N1/N2). Levels where price stalls and reverses: above — resistance, below — support.
- Flip Point. The boundary of regimes. Above the flip the market tends to smooth, below it to accelerate. In the screenshot the flip is $62,000, with spot above it.
- Max Pain (MP). The price at which most options expire worthless; the market is often "pulled" to it by expiry. In the screenshot MP is $62,500.
- Hedging Pressure and Absolute GEX. "Amplifies/Jumpy" or "Smooths/Sticky" — the market’s character; Absolute GEX — overall activity (in the screenshot −2M, amplifies; 21M of activity).
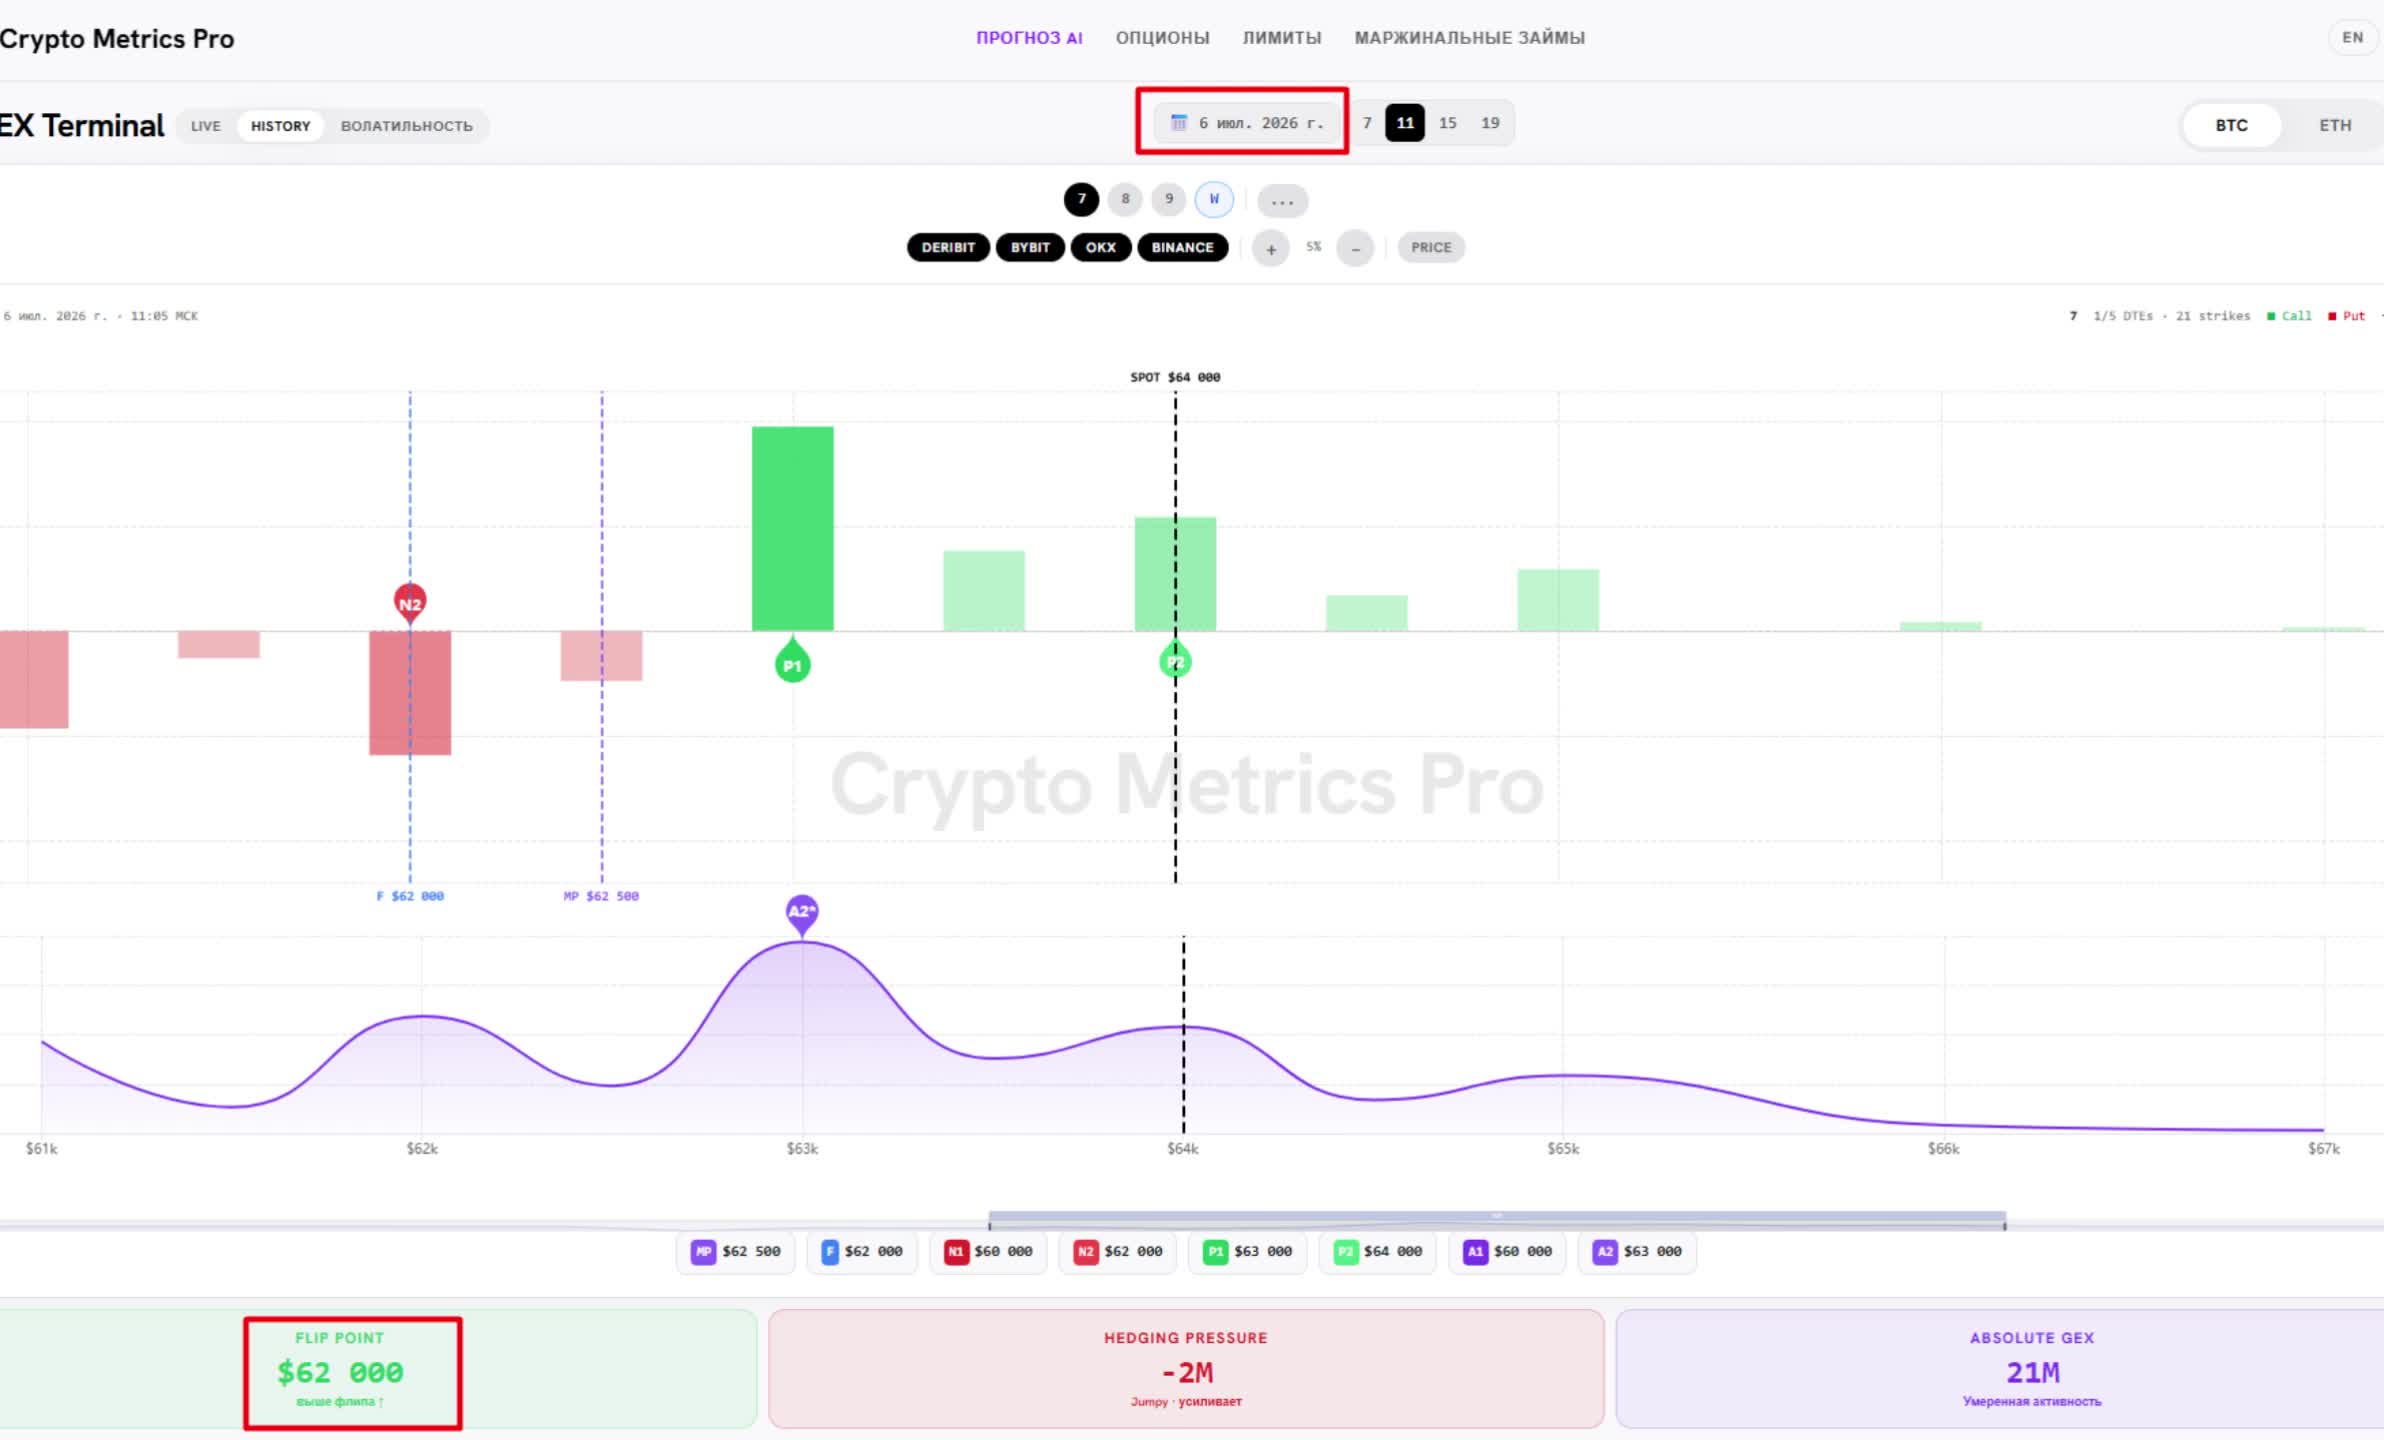
GEX Terminal: green and red walls around spot $64,000, Flip Point $62,000, Max Pain $62,500, Hedging Pressure −2M ("amplifies").
Important limitations
GEX is a powerful tool, but it has honest limitations you must not forget:
- Data is a snapshot, not the future. The map shows the current layout, not a guaranteed scenario.
- Levels move with positions. Walls and the flip shift as option positions change — the map must be re-read.
- GEX is a map, not a signal. It explains context and likely zones but does not hand you a "buy/sell" command. The decision is yours.
What a beginner should watch
To use GEX, a beginner only needs four references on the dashboard:
- Walls. The nearest large levels above and below — likely reversal zones.
- Flip Point. Which side price is on: above — calmer, below — sharper.
- Max Pain. A reference for where the market may be pulled by expiry.
- Hedging Pressure. "Amplifies" — expect sharp moves; "smooths" — a calm market.
GEX reading checklist
- I found the nearest walls above and below price.
- I determined whether price is above or below the flip.
- I checked Max Pain — where it pulls toward by expiry.
- I checked Hedging Pressure: amplifies or smooths.
- I remember: GEX is a context map, not a ready signal.
In short
GEX (gamma exposure) is a map of how the market maker is forced to hedge options. They do not need direction, they need the spread, so they buy and sell Bitcoin to stay neutral — and thereby move price. Gamma sets the speed: with positive gamma moves are smoothed, with negative gamma they are amplified, and the flip is the boundary between regimes. Walls show reversal zones, Max Pain shows where it pulls by expiry. Just remember: GEX is a map, not a signal. To see where the walls, flip and Max Pain sit on Bitcoin now, check the GEX Terminal on CryptoMetrics Pro.
See BTC and ETH levels live in the Options · GEX module.
Open moduleMore guides
This material is educational and is not individual investment advice. Trading cryptocurrencies and derivatives carries a high level of risk.